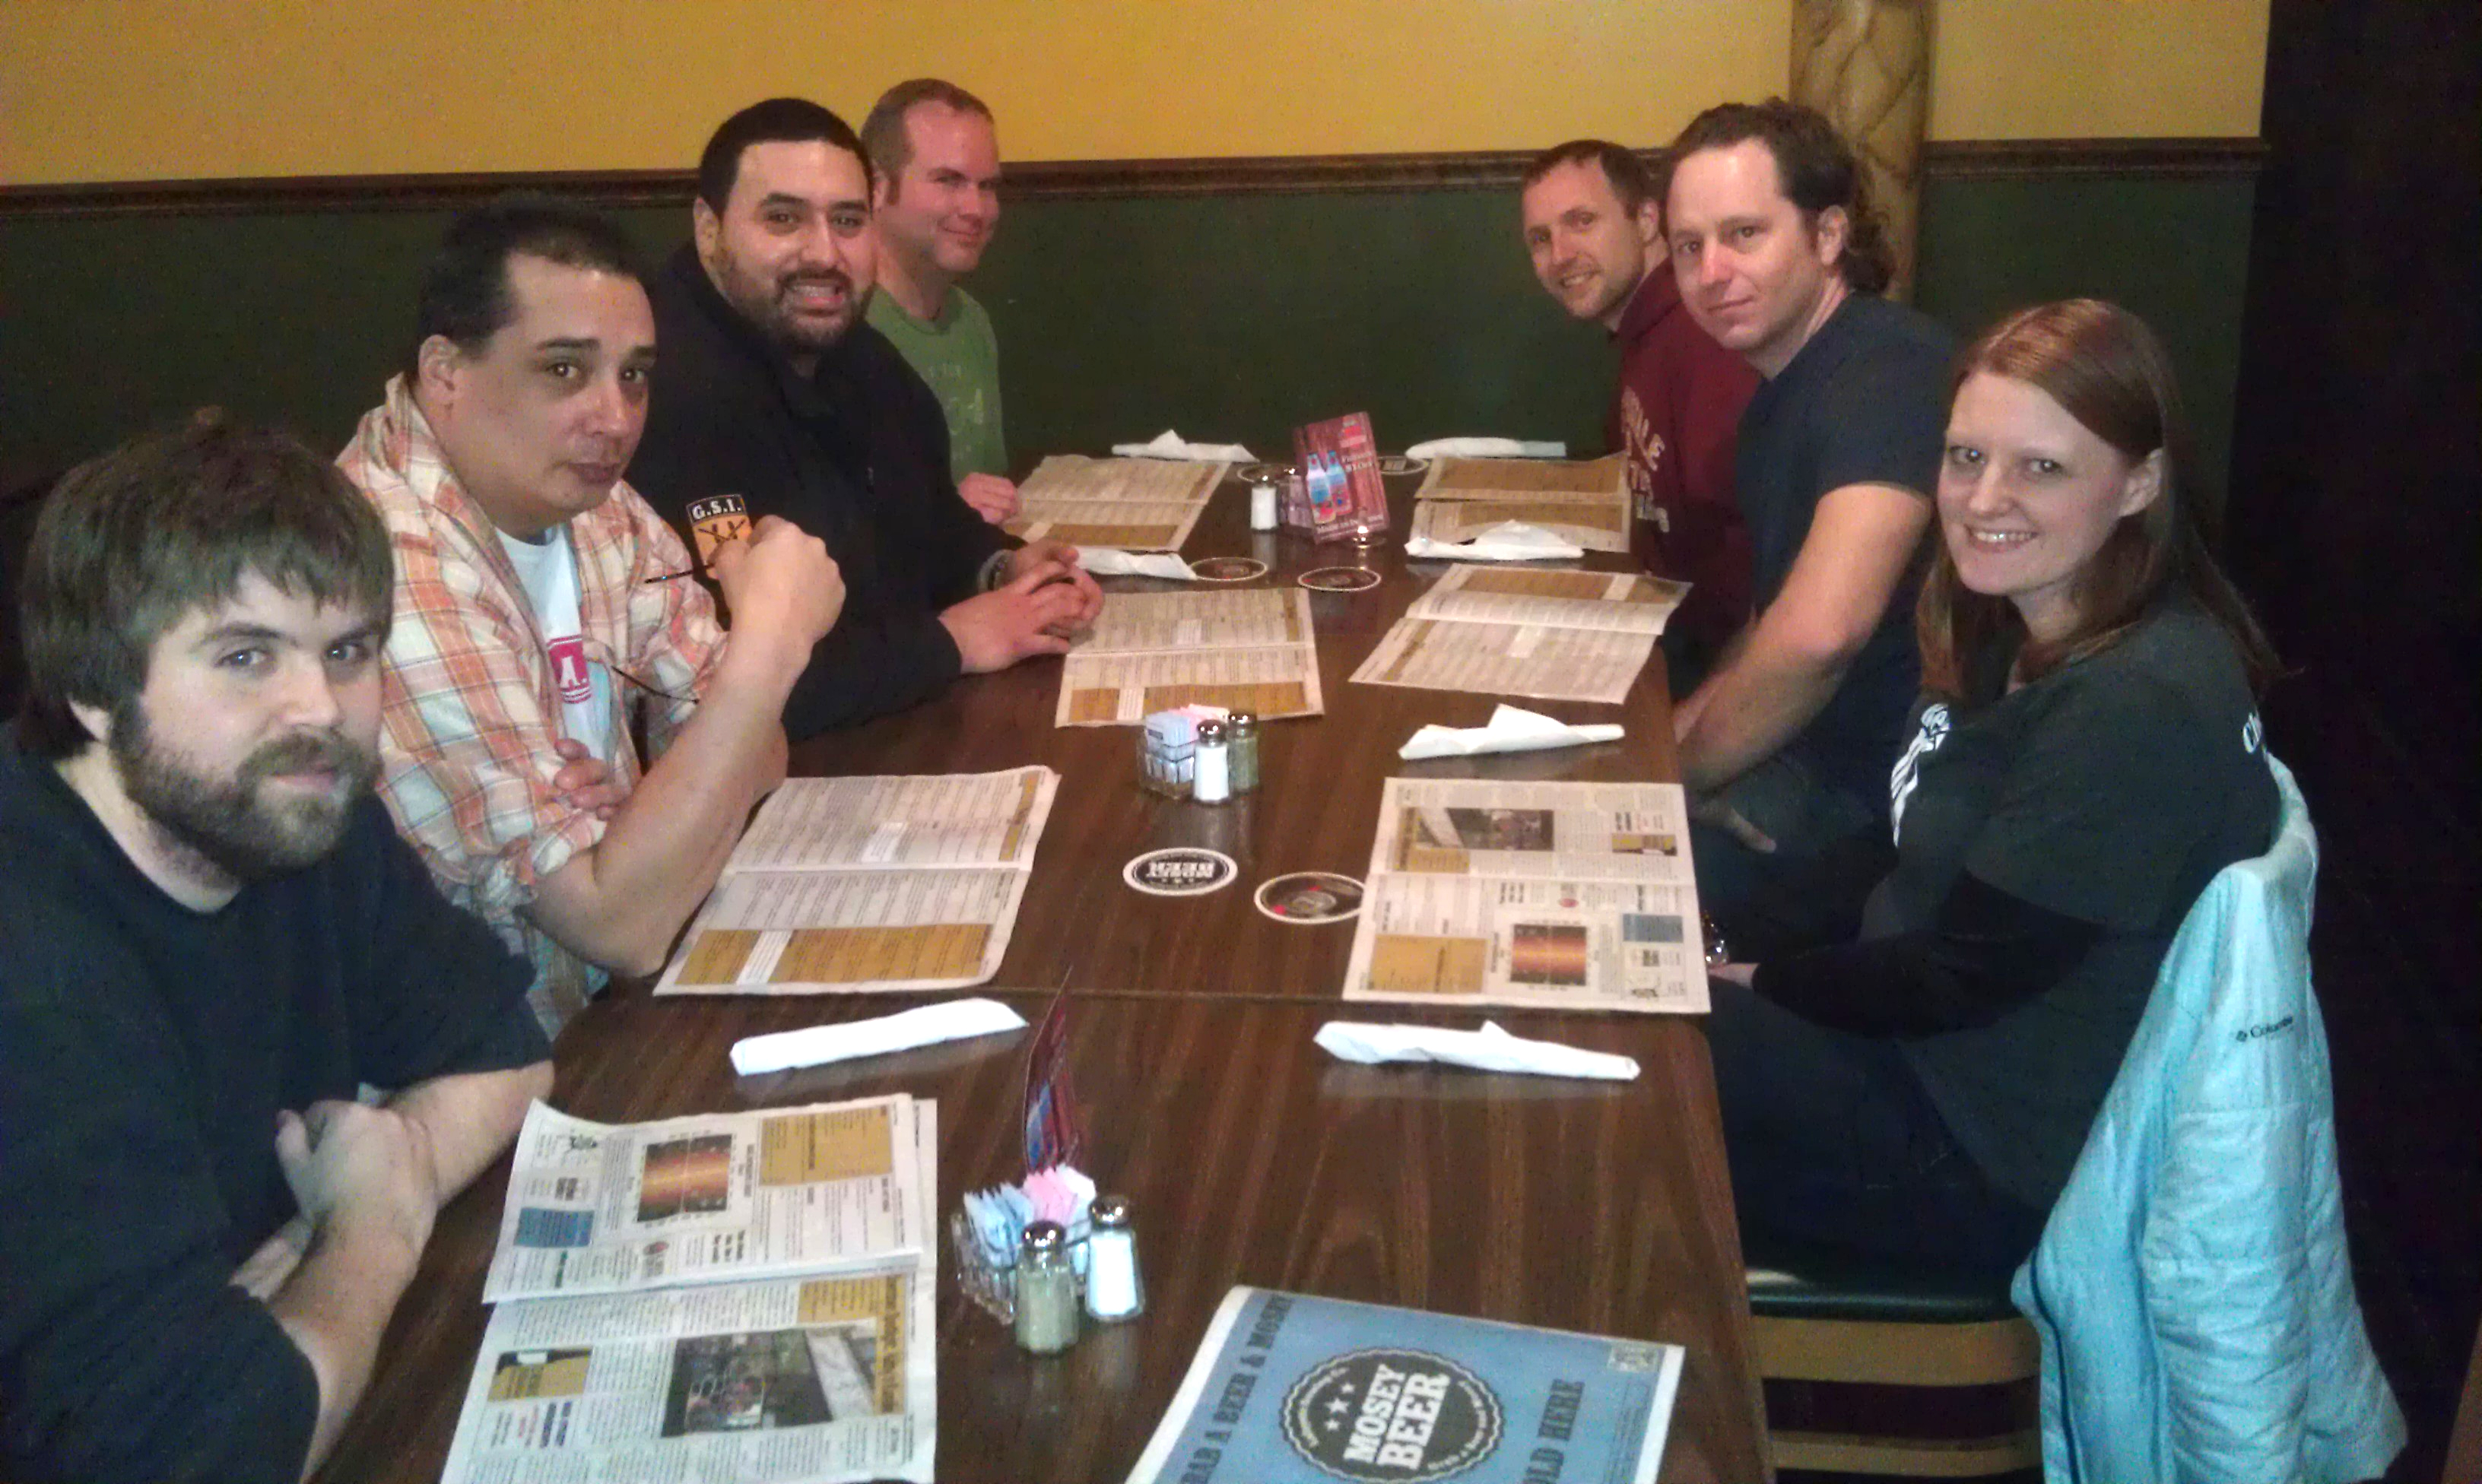
PROVIDENCE, RI—Sources attending a house party on Governor Street confirmed that the dude with the knit hat has been referring to the supply of beer as “libations” throughout the night. “The night is young, my friends—enough libations for everyone,” said the guy whose sideburns poked out from beneath the wool cap and whose name may have been Jordan or Jay—or possibly Kyle—before raising his red plastic cup to eye level, nodding his head slightly, and urging the assembled partygoers to “imbibe.” “We’ve got some fine spirits in the kitchen, too, if anyone’s interested.” The dude, who also wore tight brown corduroy pants, then reportedly circulated among the partygoers, describing his recent “unreal” trip to Colorado.
A map has been released of the Bloomington Craft Beer Festival layout on the BCBF App a couple of days ago. If you tap the picture above on your phone you can zoom in and out. Looks like it’s going to be a fun time. Make sure to drop by the homebrew table located near the Firkins and say hi. We will only be pouring from 4-5pm, so make sure hit us up (You have to give BIMPer’s time to sample delicious brew too :)). We’ve got 7 brews to choose from while they last. Have a safe BCBF!
Beer Is My Passion will be pouring at the 3rd Annual Bloomington Craft Beer Festival on April 13th at the historic Woolery Stone Mill. We’ve got some great beers to share for the event! Our booth will be open from 4:00pm to 5:00pm at the homebrewer clubs section of the event. Expect plenty of beer from breweries spanning across Indiana, along with live music from The Secret B-Sides and 220 Breakers. Tickets are onsale now through the Brewers of Indiana Guild website. There are three tiers of tickets: $50 for VIP (for entrance at 3pm instead of 4pm), $35 for General Admission, and $10 for a Designated Driver ticket. A portion of each ticket sale will be donated to the Monroe County Chapter of the American Red Cross. Here are some great photos taken by Ryan Dorgan from last years event!
One thing you might hear about as you get further along into homebrewing is the need for a “yeast starter” or “pitching rates.” Below 1.060 gravity you can still get away with a single smackpack or vial of yeast and end up with a fermentation that finishes and has enough oomph to clean itself up afterwards. But when you start looking into big Imperial style beers, barley/wheat wines, Double IPAs, etc a single serving of liquid yeast is simply not enough yeast to finish off such a big plate of sugar. So now we need to make a starter!
For a typical big beer between 1.060-80 you will need at least a 1-Liter Erlenmeyer flask and you will need some DME (Dry Malt Extract) and you will need to brew up the DME for 1.040 of yeast starter goodness. You need about 10g of DME per 100mL of starter so 1L will come in at 3.5 oz of DME boiled in 1L of water for about 15-20 minutes. What I like to do is get the water boiling in the Erlenmeyer flask to sanitize it and then carefully pour the boiling water into a saucepan and boil the wort with the DME. Once you have boiled the wort pour it back into the Erlenmeyer flask and chill it down like you would if you were brewing a small beer. An ice bath in the sink will suffice. This is why I put the wort back into the flask because I have found that the flask fits easier in the sink than a saucepan with a handle.
Once the wort is cool go ahead and pitch your yeast into the wort and allow 24-36 hours for the yeast to have reached their maximum population for the volume of wort given. Aerate the wort as you would normally as well and place enough aluminium foil over the top to cover the flask but do not make the container airtight. The yeast require that oxygen to grow optimally for the next 24 hours. Also keep in mind that increasing the gravity WILL NOT increase yeast count. It will only increase stress. Less gravity will have a negative impact on yeast growth however so 1.040 is found to be a “sweet spot” so to speak. Creating this starter will typically increase the number of cells from a pack/vial of 100 billion to 130-150 billion cells for a 1L starter. Again, as I said if you need more cells you can go with a 2L starter and get ~180-200 billion cells. Brewing a 1.110 OG barleywine and need about 350 billion yeast cells you say? Well, that is where the stir plate comes in!
A stir plate will actually DOUBLE your yeast cell count from a non-agitated yeast starter. So your 1L starter that produces 135 billion cells will jump to about 260 billion cells if properly agitated for 24-36 hours. Agitation is a process that keeps the yeast cells from flocculating out of suspension, which also inhibits their continued growth.
You can spend upwards of $100 for a cheap stir plate or even more for a professional agitation unit OR…. You can build your own for anywhere between $15-30.
I just recently built one using this video as inspiration:
The one place where my build differs from Fo’s is I used a Thermaltake Mobile Fan II External USB cooling fan for the magnet mount. This somewhat limits where I can plug in my stir plate as I don’t have a laptop but I didn’t feel like splicing the wire. Splicing wire is not hard at all but I’m lazy and just felt like going the USB route and it works great. Make sure you have a variable control for your fan RPM however. When you first plug in/turn on your stir plate with your suspension in place the bar may not move right away and you will need to slowly increase the rate of spin to get it turning, taking care not to “throw” the stir bar. Once the bar is turning you can then turn down the RPM if you so choose or leave it where it is. As far as I know the speed at which the bar is spinning has little to no effect on the actual process. So long as you are agitating the yeast cells and keeping them from flocculating and settling out, your stir plate is doing its job.
Here are some before/after screenshots from Beersmith showing its calculated difference between using a stir plate and NOT using a stir plate: No Stir Plate
With Stir Plate
That is about it. Here is a quick video of my own build in action:
http://www.youtube.com/watch?v=1pac4hHRYqs&feature=youtu.beI
I purchased the fan and stir bar on Amazon, the project box and magnets were purchased from my local Radioshack, and the mountings for the fan/variable control were purchased at Lowe’s. If you have any questions or comments feel free to email me or comment on this article. Thanks for reading!
Day 1 – LBC – Michael, Lance, Keith, Joe, Ryan, and Jenn
Day 1 – LBC vintage statues.
This tour was AMAZING! We packed up several empty coolers, mp3 players, and a small amount of luggage on a beer tour I’ll never forget. 8 people in a 12 passenger van forded through viscous wind, rain, and snow to visit some of the best breweries in the midwest. We hit Lafayette Brewing, Peoples Brewing, Crown Brewing, and Three Floyd’s on Day 1. Founders Brewing,Brewery Vivant, and Bell’s Brewing (where we enjoyed the wonderful musings of Keller Williams) on Day 2. Day 3 started a lot slower :), but we did manage to make an extended stop at Dark Horse Brewing before making the voyage back home. I personally sampled over 35 unique beers not distributed outside of the breweries, and also managed to bring home several rare bombers and a growler. What’s next for BIMP Beer Tours you ask? We are thinking about another trip North to Traverse City via train and working our way back to Indy. We definitely have more breweries to explore in the Grand Rapids, MI area. I’ll keep you posted. Thanks again to Keith, Michael, Lance, Ryan, Joe, Mikey, and Jenn for making this trip so enjoyable. Hope you had as good of a time as I did. Cheers!
In the spirit of our upcoming King of Beers American Lager/Pilsner tasting, I thought it would be cool to post some vintage beer ads from America’s major brewers of this particular style. I love how debonair they make the drinkers of these fine fermented products look! If you have any other vintage ads please share in the comments below.
Thanks to all that made the Stout Bout Homebrew Competition at Great Fermentations such an awesome time! There were 10 great beers served, several of which beat out Hoppin’ Frog’s BORIS The Crusher Oatmeal Imperial Stout (a 2-time gold medalist at the Great American Beer Festival that I snuck in for kicks) in our blind tasting. Our top three homebrews selected this go-round were Josh and Ashley Jenkins’ Milk Stout, Doug Dixon’s American Stout, and Michael Catlin’s Breakfast Russian Imperial Stout. Great work guys! The entries were pretty spread out (we had entries for 5 of the 6 recognized BJCP stout categories), with two Russian Imperial Stouts (one was aged for 2 years), 3 Oatmeal Stouts, 2 Milk/Sweet Stouts, a Dry Stout, and an American Stout. Thanks again to Great Fermentations for lending us their classroom, and also to cosIT Photography for the outstanding camerawork. More photos can be found in a set on cosIT’s Flicker Photostream. Cheers!
Michael Donk of Brew Bokeh has taken some amazing photography of some of the best breweries across the country and around the world. Recently he has added a collection of photos taken at Indiana’s Three Floyd’s Brewing Comany. Make sure to drop by his page to check these great photos, and show him some love on Facebook or Follow him on Twitter! You can view the full Three Floyd’s Album here.
[youtube http://www.youtube.com/watch?v=y1fV3edEdfE]
Just when you’ve thought you’ve brewed with everything… Enter bull testicles! Wynkoop Brewing Company in Denver, Colorado definitely made me smile with this new recipe. There are literally 25lbs of bull testicles in this 8 barrel batch of Foreign Export Stout. The recipe started as an April Fool’s joke, but later bloomed into the “Ballsiest Beer Ever.” So how does it taste? Here’s a description posted on their webpage.
Rocky Mountain Oyster Stout is an assertive foreign-style stout, slightly viscous, with a deep brown color. It has equally deep flavors of chocolate syrup, Kahlua, and espresso, along with a palpable level of alcohol and a savory umami-like note.It finishes dry and roasted with a fast-fading hop bite.
Either way, please refrain from bringing any testicle beers to our next homebrew competition at Great Fermentations or you may be the only one drinking it 😉
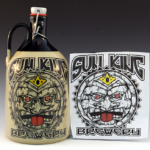
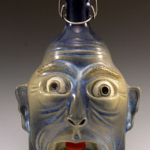
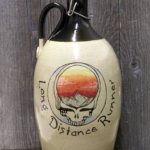
HandmadeCeramicGrowlers.com has got some pretty amazing beer vessels available on their website! They not only do custom logo growlers for breweries, but they also have a tier known best as “Uber Growlers” that are sure to incite growler envy among your draft carrying compadres. The company is called Carlburg Pottery, and they pride themselves on using American sourced materials to make truly one of a kind growlers for beer enthusiasts of all types.
 From The Onion